How to Install Channel Letters: A Step-by-Step DIY Guide for Business Owners
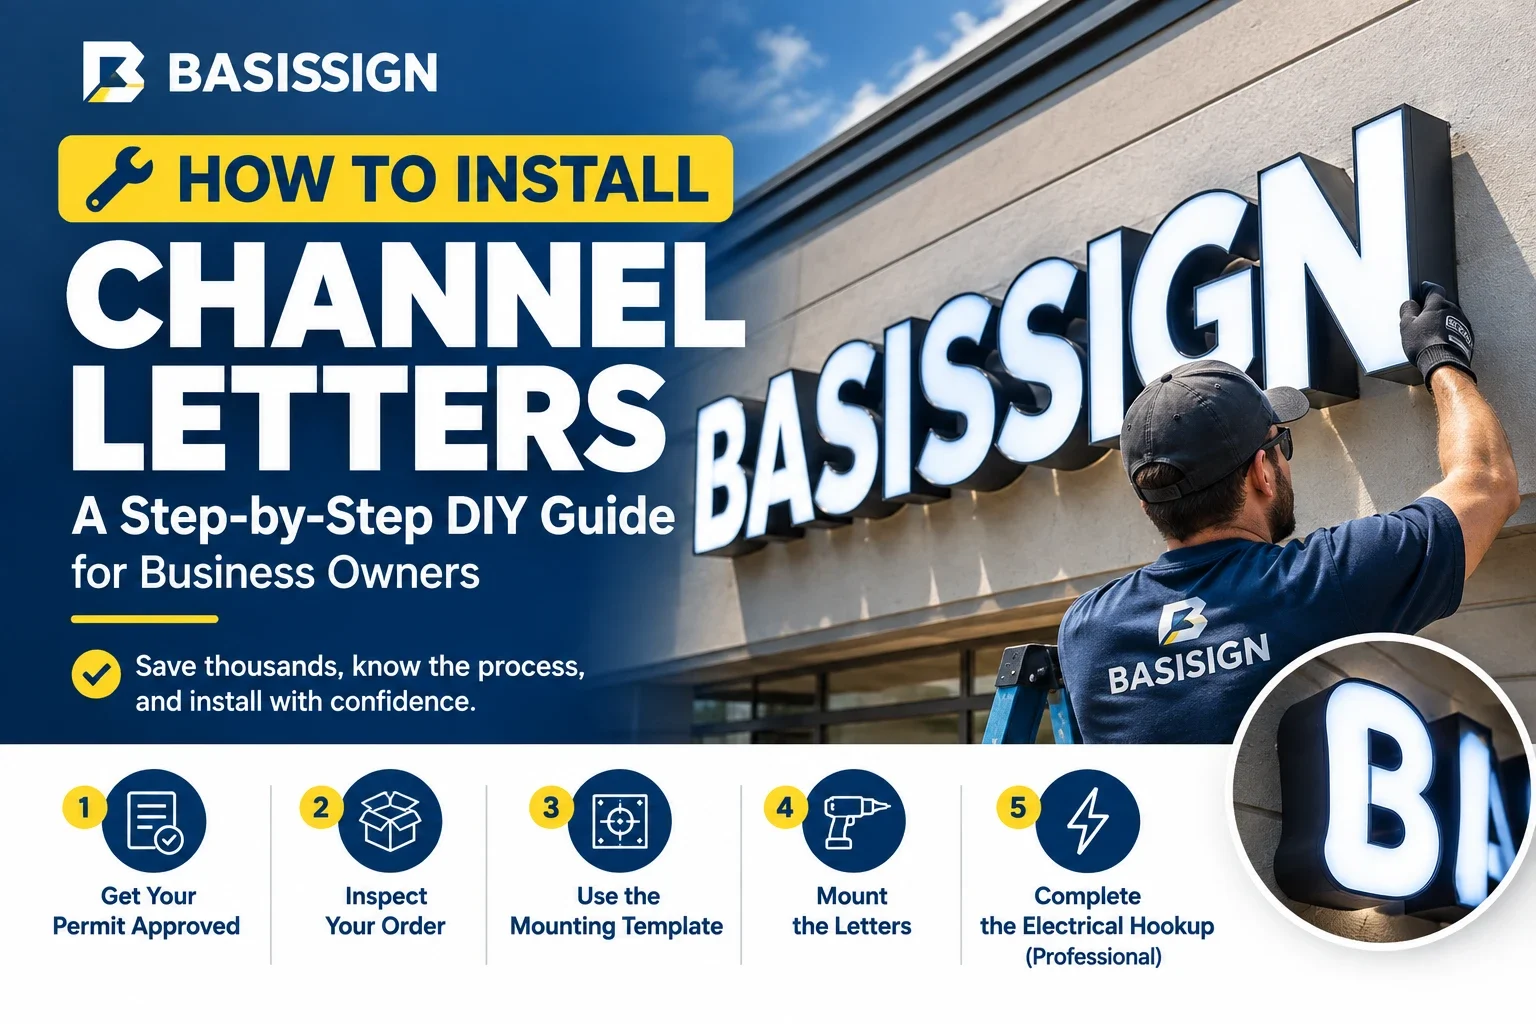
There is a myth in the sign industry that channel letter installation requires a specialized crew, a bucket truck, and a price tag that rivals the sign itself. I have heard that pitch made to business owners for fifteen years, and in a lot of cases, it simply is not true.
Most front-lit and backlit channel letter sets, when they arrive pre-wired with a proper mounting template, can be installed by a general handyman or a small local crew in a single day. The part that genuinely needs a licensed professional is the final electrical hookup, not the mounting itself. Knowing the difference between those two tasks is what saves business owners thousands of dollars.
This guide walks through the actual installation process step by step, the same process a professional installer follows, so you know exactly what is involved before you decide whether to do it yourself or call someone in.
I want to be upfront about something before we get into the steps. This guide is written for straightforward, single-story storefront installations using pre-wired letter sets, which covers the large majority of small business signage. If your project involves multiple stories, unusual wall materials, or a building with structural quirks, some of the caution flags below will apply more heavily to you, and that is worth reading carefully rather than skipping past.
Can You Really Install Channel Letters Yourself?
The honest answer depends on your building and your sign, not your handiness in general. A single story storefront with accessible wall space and a straightforward stud or raceway mount is a realistic DIY or handyman project. A tall parapet wall, a complex multi-line electrical hookup, or a raceway sign requiring lift equipment is not something to tackle without experience.
Most manufacturers who ship pre-wired letters with a disconnect switch already installed have effectively done the hardest technical work for you. What is left is precise measuring, drilling, mechanical mounting, and a final connection that a licensed electrician completes in a fraction of the time a full field-wired install would take.
A useful way to think about it is that channel letter installation splits into two distinct skill sets. The first is basic construction work, measuring, leveling, drilling, and mounting hardware, which is the same skill set used for hanging shelving, mounting a TV bracket, or installing exterior lighting fixtures. The second is licensed electrical work, which by law and by good sense stays with a professional. Confusing the two, or assuming the whole project requires specialty sign-industry expertise, is what drives the inflated quotes that push some business owners away from DIY entirely.
What You Will Need Before You Start
Having the right tools and documents on hand before you start prevents the most common source of delay, which is stopping mid-installation to go find something.
Tools
A basic installation kit includes a cordless drill with masonry and metal bits appropriate for your wall material, a laser level or a standard 4-foot level, a tape measure, safety glasses, work gloves, and a stud finder if you are mounting into drywall or stucco over framing. For raceway or higher mounted signs, you will also need an appropriate ladder or lift, rated for the height and weight involved.
Documents
Keep your approved sign permit, your mounting template, and your wiring diagram accessible on site, not just saved somewhere on a phone. Inspectors sometimes ask to see the approved permit during or after installation, and having it on hand avoids delays.
Step 1: Confirm Your Permit Is Approved
Do not begin installation before your local sign permit is officially approved. Installing before approval can result in a stop-work order, fines, or a forced removal, all of which cost more than the few days it typically takes for a permit to clear. Our business sign permit guide walks through what most cities require during this step.
Step 2: Inspect What You Received
Before doing anything else, unbox your letters carefully and compare them against your order confirmation. Check letter count, spelling, color, and that the disconnect switch and wiring on each letter appear intact and undamaged from shipping.
Report any shipping damage or discrepancies immediately, since catching a problem before installation begins is far easier to resolve than after letters are already mounted to the wall.
Step 3: Position and Level the Mounting Template
Your 1:1 mounting template shows the exact drill point for every letter, scaled to actual size so there is no guesswork involved. Tape the template to the wall in its intended position, then use a laser level or standard level to confirm it is perfectly horizontal before marking anything.
Taking an extra ten minutes here to get the level right is the single most important step in the entire process. A template that is off by even a small angle becomes visibly crooked once letters are mounted and lit, and it is far harder to fix after installation than before drilling.
Step 4: Mark and Drill Mounting Holes
Once the template is level and positioned correctly, mark each drill point through the template directly onto the wall. Remove the template, then drill pilot holes at each marked point using a bit sized correctly for your wall material and mounting hardware.
If you are drilling into masonry, brick, or stucco, use a hammer drill with an appropriate masonry bit, and insert wall anchors rated for the total weight of your sign before installing mounting studs or screws.
Step 5: Mount the Letters
With pilot holes drilled and anchors set, mount each letter according to your wiring diagram sequence, typically working left to right to keep wiring runs organized and to avoid crossing cables behind the wall. Hand-tighten mounting hardware first, then fully secure it once you have confirmed every letter sits flush and level against the wall.
For raceway mounted signs, the raceway itself gets secured to the wall first, and letters are then attached to the pre-wired raceway housing rather than directly to the building surface.
Step 6: Route and Connect the Wiring
Route the low-voltage wiring from each letter back toward your planned power supply location, following the path laid out in your wiring diagram. Pre-wired letter sets typically use quick-connect wiring, which significantly reduces the risk of miswiring compared to older field-wired systems.
Do not connect anything to your building’s main electrical supply at this stage. This is the boundary line between what a general contractor or handyman can safely complete and what requires a licensed electrician.
Step 7: Call a Licensed Electrician for Final Hookup
The final connection from your sign’s power supply to your building’s electrical system must be completed by a licensed electrician in nearly every jurisdiction, both for code compliance and for basic safety. This step typically takes an electrician one to two hours once the mechanical mounting and wiring routing described above is already complete, which keeps this part of the project inexpensive relative to a full field installation.
Signs built to UL 48 and NEC Article 600 standards, like the ones covered in our UL 48 certification guide, are specifically designed to make this final connection straightforward for a licensed electrician working from standard documentation.
Step 8: Test and Inspect
Once the electrician completes the final connection, test the sign during both daytime and nighttime conditions to confirm even illumination across every letter with no visible dark spots or flickering. Schedule your local inspection if your permit requires a post-installation sign-off, and keep photos of the finished installation for your own records and for warranty purposes.
Raceway vs Direct Mount: Does Installation Method Change the Steps?
The core process stays the same regardless of mounting method, but raceway installation is generally faster since the wiring and letter spacing arrive pre-assembled on a single unit rather than needing individual placement. Stud or direct mount installation takes slightly longer since each letter is positioned and secured independently, but it produces a cleaner finished look with no visible housing.
If your wall is uneven, older brick, or has surface damage that would be difficult to patch invisibly, raceway mounting is usually the more forgiving choice for a DIY or first-time installer.
How Your Wall Material Changes the Installation
Not every wall behaves the same way once a drill touches it, and this is where DIY installers most often run into surprises. Vinyl or aluminum siding needs a backer board or direct anchoring into the framing behind it, since the siding itself cannot support the weight of a mounted letter on its own. EIFS or synthetic stucco is notoriously tricky, since the foam substrate underneath looks solid but has almost no holding strength, and anchors need to reach the structural wall behind it.
Brick and concrete block hold weight reliably once you are using the correct masonry anchors and a hammer drill, but they take significantly longer to drill through than wood-framed drywall, so budget extra time. Glass storefronts, common for boutiques and cafes, generally cannot be drilled into at all, and signage there typically mounts to an adjacent frame, mullion, or a dedicated bracket system instead.
If you are not confident identifying what is actually behind your exterior finish, a quick call to your building’s property manager or a look at your original construction drawings, if available, saves you from anchoring into something that will not hold long term.
Common Installation Mistakes to Avoid
Skipping the leveling step is the most common mistake, and it is the hardest one to fix after the fact. A sign mounted even slightly out of level is immediately noticeable once lit at night.
Using undersized wall anchors is another frequent error, especially on stucco or older masonry where the true structural wall sits behind a decorative surface layer. Anchors rated for the sign’s full weight, not just the visible surface material, prevent long-term sagging or letter separation.
Attempting the final electrical connection without a licensed electrician is both a code violation in most areas and a genuine safety risk. This is not a step to shortcut regardless of how confident you feel about your own electrical knowledge.
Falls remain one of the leading causes of preventable workplace injury, and OSHA maintains a dedicated ladder safety resource specifically because so many of these incidents are avoidable with basic precautions like maintaining three points of contact and never overreaching to the side while on a ladder. Treat sign installation with the same caution you would any other elevated work.
A less obvious mistake is scheduling installation during poor weather without a backup plan. Wind, rain, and extreme heat all make elevated drilling and precise leveling harder and less safe, and rushing through a leveling step to beat incoming weather is exactly how crooked signs happen. Building a weather buffer day into your installation schedule costs nothing and prevents a rushed, lower quality result.
How Long Does Installation Take?
A straightforward single-story storefront sign with pre-wired stud mount letters typically takes a small two-person crew, or a capable handyman with a helper, four to six hours to fully mount, not including the final electrician hookup. Raceway signs of a similar size often go faster, closer to three to four hours, since wiring and spacing are pre-assembled.
Larger signs, taller mounting heights, or masonry walls requiring extensive drilling will extend that timeline. Budgeting a full day for anything beyond a small storefront sign is the safer expectation.
When You Should Hire a Professional Instead
Some situations genuinely call for a professional installation crew rather than a DIY approach. Signs mounted above the second story, installations requiring a lift or scaffolding, complex multi-line raceway systems, or any building with unusual structural conditions are all better handled by an experienced team with the right equipment and insurance coverage.
If you are unsure which category your project falls into, our installation resources walk through more detail on what a straightforward install looks like compared to one that calls for a professional.
Frequently Asked Questions
Can I install channel letters without an electrician?
You can handle the mechanical mounting and wiring routing yourself in most cases, but the final connection to your building’s electrical system legally requires a licensed electrician in nearly every jurisdiction. Attempting that final connection without a licensed professional risks both code violations and genuine safety hazards.
How long does it take to install channel letters?
A small to medium storefront sign typically takes four to six hours for mounting, plus one to two hours for a licensed electrician to complete the final hookup. Larger or taller signs generally require a full day.
Do I need a permit before installing channel letters?
Yes, almost every US city requires an approved sign permit before installation begins. Installing before approval can result in fines or a forced removal, so confirm your permit status before starting any work.
What tools do I need to install channel letters myself?
A cordless drill with appropriate bits for your wall material, a level, a tape measure, wall anchors rated for your sign’s weight, and a stud finder cover most standard installations. Taller or raceway mounted signs may also require a ladder or lift rated for the height involved.
Is raceway mounting easier than stud mounting for a DIY install?
Generally yes, since raceway systems arrive with wiring and letter spacing pre-assembled into a single unit, reducing the number of individual measurements and connections needed compared to stud mounting each letter separately.
Final Thoughts
Channel letter installation is far more approachable than most first-time buyers assume, as long as you understand where the boundary sits between mechanical work you can reasonably handle yourself and the electrical connection that belongs to a licensed professional. Getting the leveling and anchoring right the first time matters more than speed, since a crooked or loose sign is expensive and awkward to correct after the fact.
If you are ready to order a sign built for straightforward installation from the start, request a free mockup and quote and mention your mounting surface and building height so your letters arrive with the right hardware and documentation for your specific job.