How to Get a Business Sign Permit ApprovedOpening a new location? Don’t let permit issues delay your grand opening.
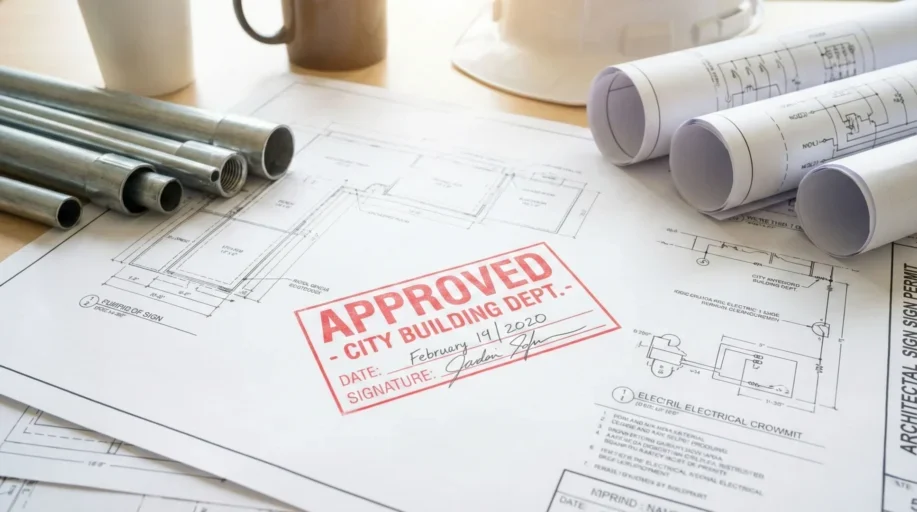
Opening a new location? You have a million things to do. But before you bolt that beautiful new sign to your storefront, you need one crucial piece of paper: The Sign Permit.
If you install a sign without a permit in the US, the city can fine you up to $1,000 per day or force you to tear it down.
Many business owners think getting a permit requires an expensive expeditor or attorney. It doesn’t. If you have the right documents from your manufacturer (that’s us), you can file it yourself and save hundreds of dollars.
Here is the exact 5-Step Process to getting your sign permit approved quickly.
❶ The “Before You Buy” Homework
Every city is divided into zones (Commercial, Industrial, Historic, etc.).
What to look for: Search your city’s website for “Sign Ordinance.”
Key Limits: Max square footage (usually based on your storefront width), allowed projection (how far it sticks out), and illumination rules (some zones ban flashing lights).
Tell us your storefront width (e.g., 20ft). We will design your sign to fit the standard “1.5 sq ft per linear foot” rule common in most US cities.
City Hall won’t even look at your application without a Letter of Authorization (LOA) from the property owner.
Action: Send your sign design to your landlord first. Get them to sign a simple letter saying “I approve this sign.”
❷ The Application Packet (The “Meat”)
This is where most people fail. The city needs specific technical drawings. You cannot just sketch it on a napkin.
When you order from BASIS SIGN, we provide a “Permit-Ready Engineering Packet” containing the 3 Holy Grails of approval:
- Elevation View: What the sign looks like on the building.
- Section View: How the sign is attached to the wall (bolt size, depth).
- Electrical Specs: Where the power supply is located.
Local sign shops charge $500+ just to create these drawings. At BASIS SIGN, we include them with your order.
❸ Submission & Timeline
- Small Towns: Walk into City Hall, “Building Department” or “Planning Department.”
- Big Cities (LA, NYC, Miami): Most now have online portals (e.g., “ePlan Review”).
- Over-the-Counter: Some suburbs approve it same-day if your paperwork is perfect.
- Standard Review: 2 to 4 weeks.
- Historic Districts: 1 to 3 months (Avoid these if you are in a rush!).
What Happens After Approval?
Once you get the “Notice to Proceed,” you can install your BASISSIGN.
- Is it securely mounted?
- Is the UL Label visible? (Yes, ours is right on the side).
Don’t go to City Hall empty-handedWe’ve compiled a universal checklist of everything you need.
- Landlord Authorization Letter Template
- Technical Specification Summary
- Universal Permit Worksheet