How to Install Halo-Lit (Backlit) Sign LettersLearn the step-by-step process for installing halo-lit sign letters using a full-scale paper mounting pattern, appropriate hardware, and the included wiring diagram. Know when to hire an electrician.
What’s included in your order
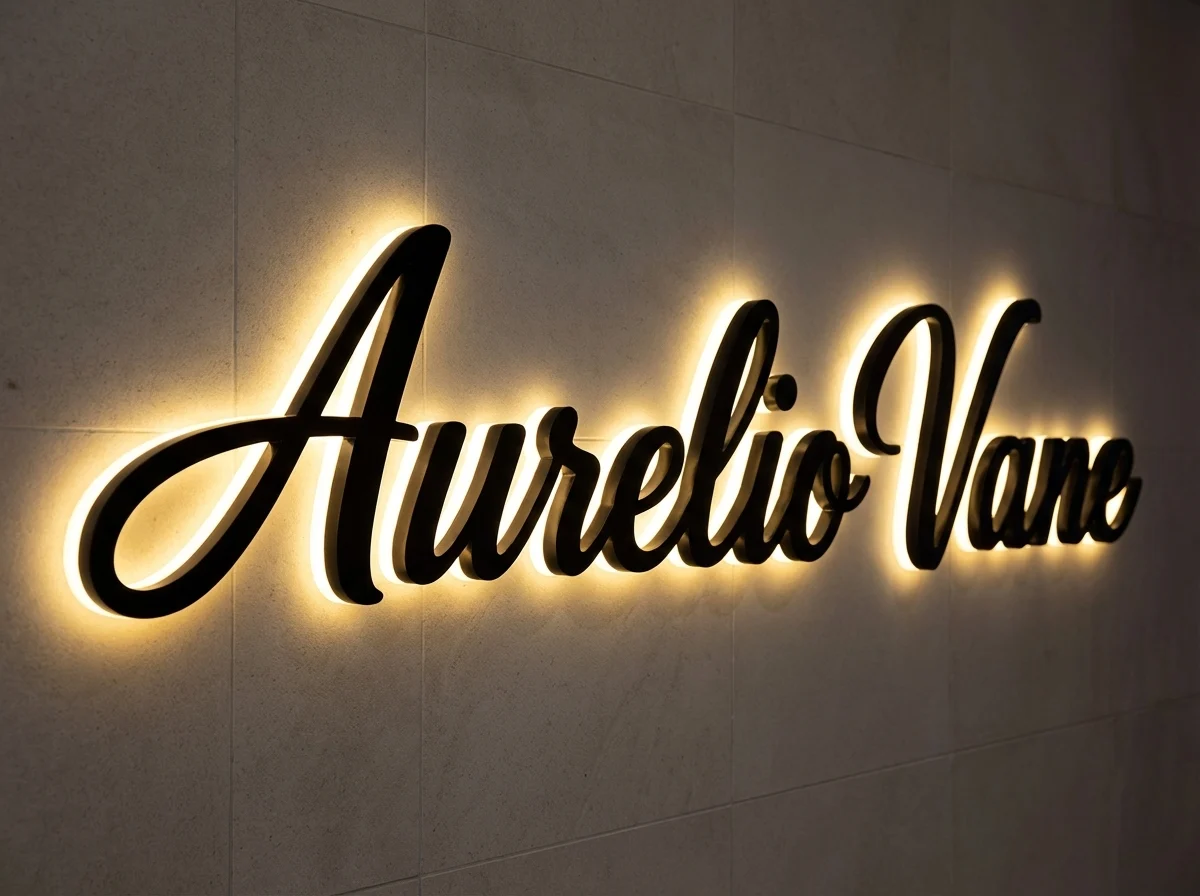
Halo-lit letters (backlit letters) create a glow around the letter by lighting the wall behind it. BASIS SIGN ships signs as installation-ready, including:
- Full-scale paper mounting template (1:1 pattern)
- Wiring diagram
- Required hardware (spacers/studs for halo effect)
- UL-certified Mean Well power supplies (for LED signs)
Read this first: electrical safety
- If your power supply needs to connect to building power, use a licensed electrician.
- Always turn off power at the breaker before making electrical connections.
Tools checklist
- Drill + drill bits (masonry bits for brick/stone)
- Level
- Tape measure + masking/painter’s tape
- Screwdriver + wire strippers
- Ladder or lift
- Silicone (seal drilled holes where needed)
If you’re hiring a local installer
Halo-lit letters often involve both mounting and electrical work. For a clean handoff, give your installer:
- 1:1 paper mounting pattern (template)
- Wiring diagram (color-coded)
- Install surface type and wiring route (through-wall vs raceway)
Use a licensed electrician for any direct connection to building power.
Step-by-step (installation-ready workflow)
1) Plan placement and access
Confirm final location, safe access at install height, and how wiring will be routed so connections remain serviceable.
2) Tape the 1:1 mounting pattern to the wall
- Lightly tape first so you can adjust.
- Use a level to ensure it’s straight.
- Fully secure the pattern so it cannot shift.
3) Drill through the marked holes
Drill mounting points and wire pass-through points (if your design routes wiring through the wall).
4) Remove pattern, clean holes, and dry-fit
Test-fit a couple of letters to confirm alignment before installing everything.
5) Mount letters and set spacing
Halo effect depends on consistent spacing off the wall. Use the hardware provided with your order to keep spacing uniform.
6) Follow the included wiring diagram
Halo-lit letters require a power supply/driver. Follow the included diagram and hire a licensed electrician for any direct connection to building power.
For an overview, see:
Power Supply / Driver Wiring Basics7) Power-on test and final inspection
- All letters illuminate
- Glow is even and consistent
- No visible wiring from the front (where applicable)
Troubleshooting (common)
- One letter doesn’t light: check the wiring diagram and connections to that letter first.
- Flicker or inconsistent brightness: loose connections or driver sizing issues.
- Uneven halo glow: spacing varies—re-check hardware and wall flatness.
FAQs
Do you provide installation templates and wiring diagrams?
Yes. Orders ship with a full-scale paper mounting pattern and wiring diagrams to reduce guesswork.
Do you provide the right hardware for my wall type?
Yes. Tell your Project Manager what surface you are installing onto (wood/drywall, brick/concrete/stone, glass) so we can pack the correct hardware kit.